Vmware-Workstation-Pro-On-AzureVM
VMware Workstation Pro on Azure VM
🔧 Requirements of Azure VM
- VM Size: E or D Series with Intel Process. In my case, I used the E2ds.
- OS: Windows 10 Enterprise 22H2 - V1 (generation 1) used in my case. The one available in Marketplace as recording of today 12/08/2025
- Hypervisor: Hyper-V must be enabled inside the VM.
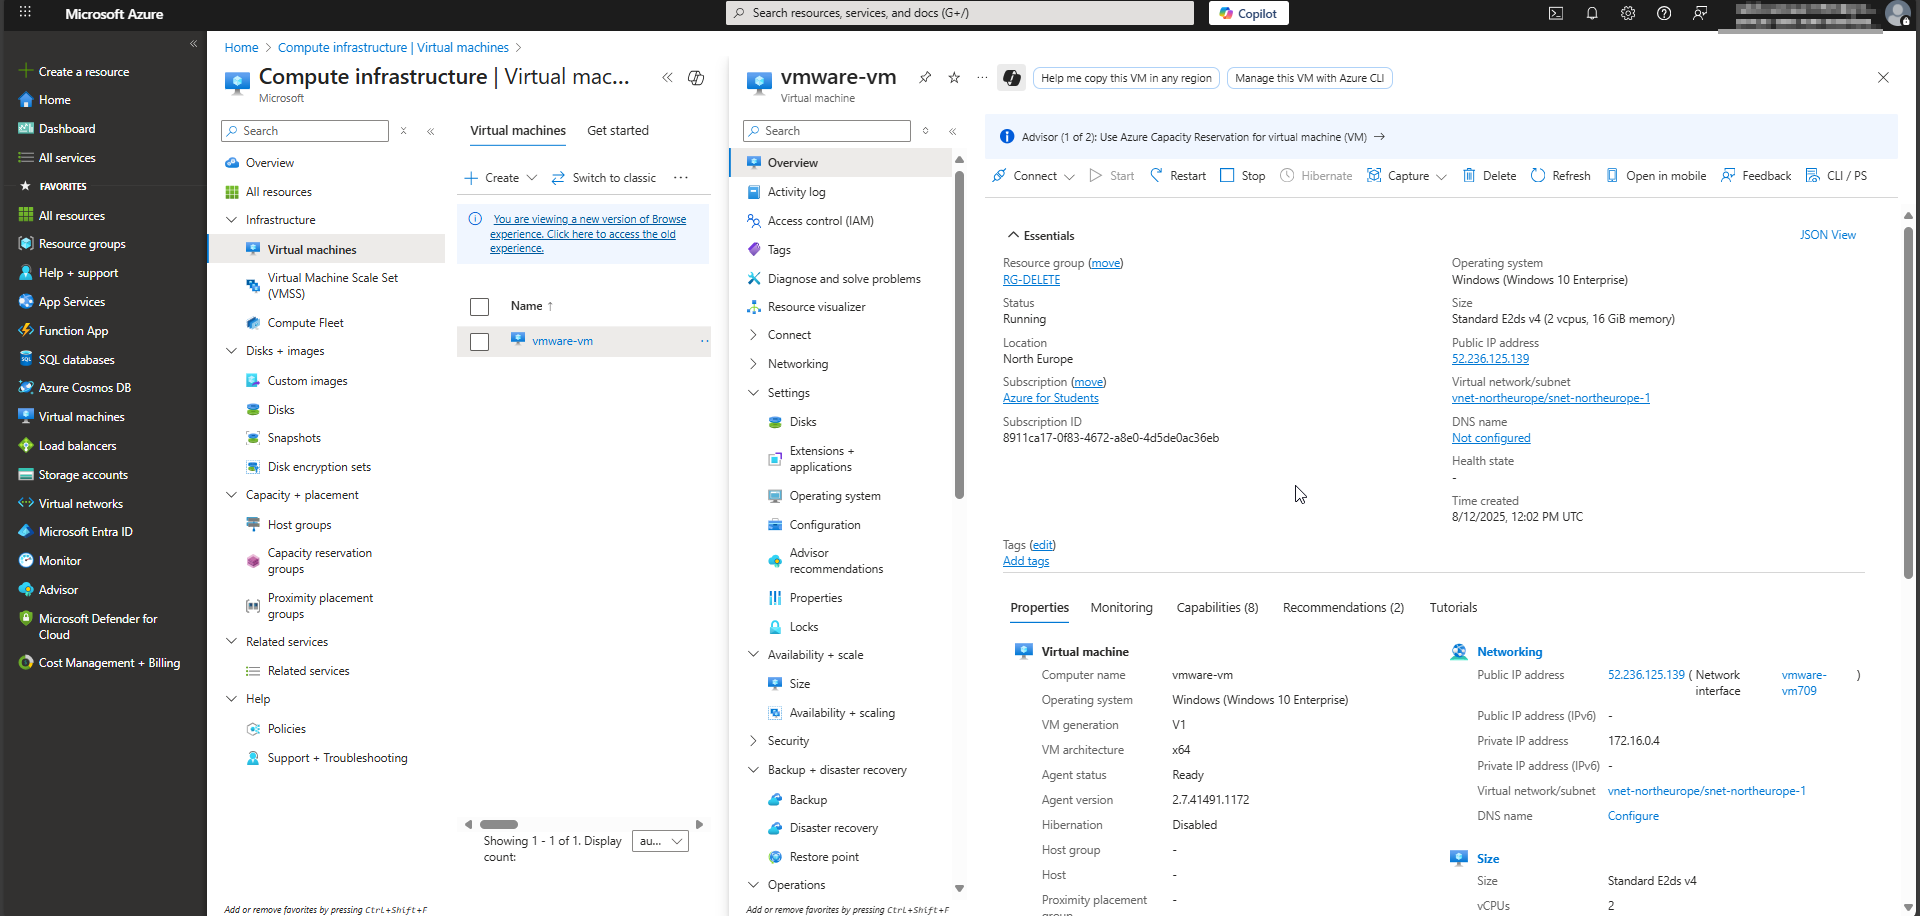
Step 1: Create Azure VM
Create a virtual Machine E2ds SKU, Windows 10 22h2 Enterprise Gen1, choose your preferred region. All other settings remain at their default values. Make sure to enable RDP in NSG and use public IP.
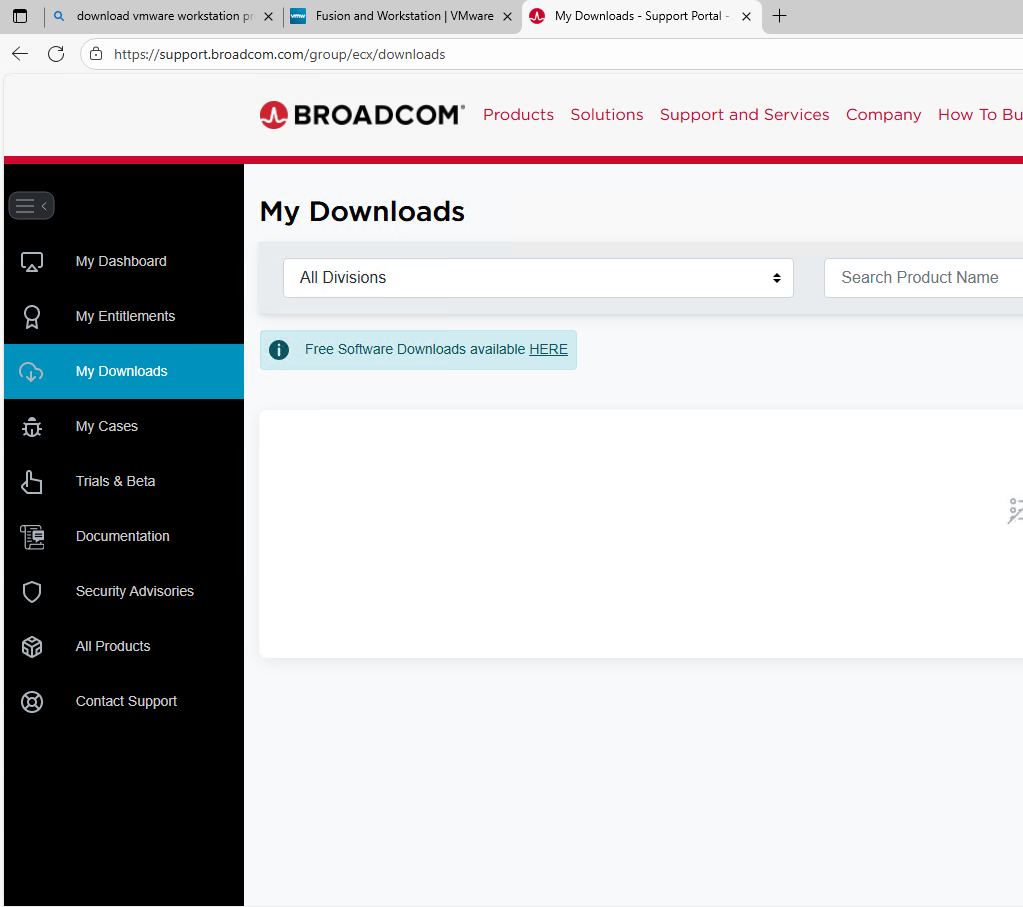
Step 2: Downloading VMware Workstation Pro
- Visit https://support.broadcom.com and log in using your credentials. If you don’t have an account, you can create one, it is free. Alternatively, you can access the setup file directly by referring to the resources.md file in the repository. Click on HERE in Free Software Downloads available.
- Select from the list VMware Workstation Pro.
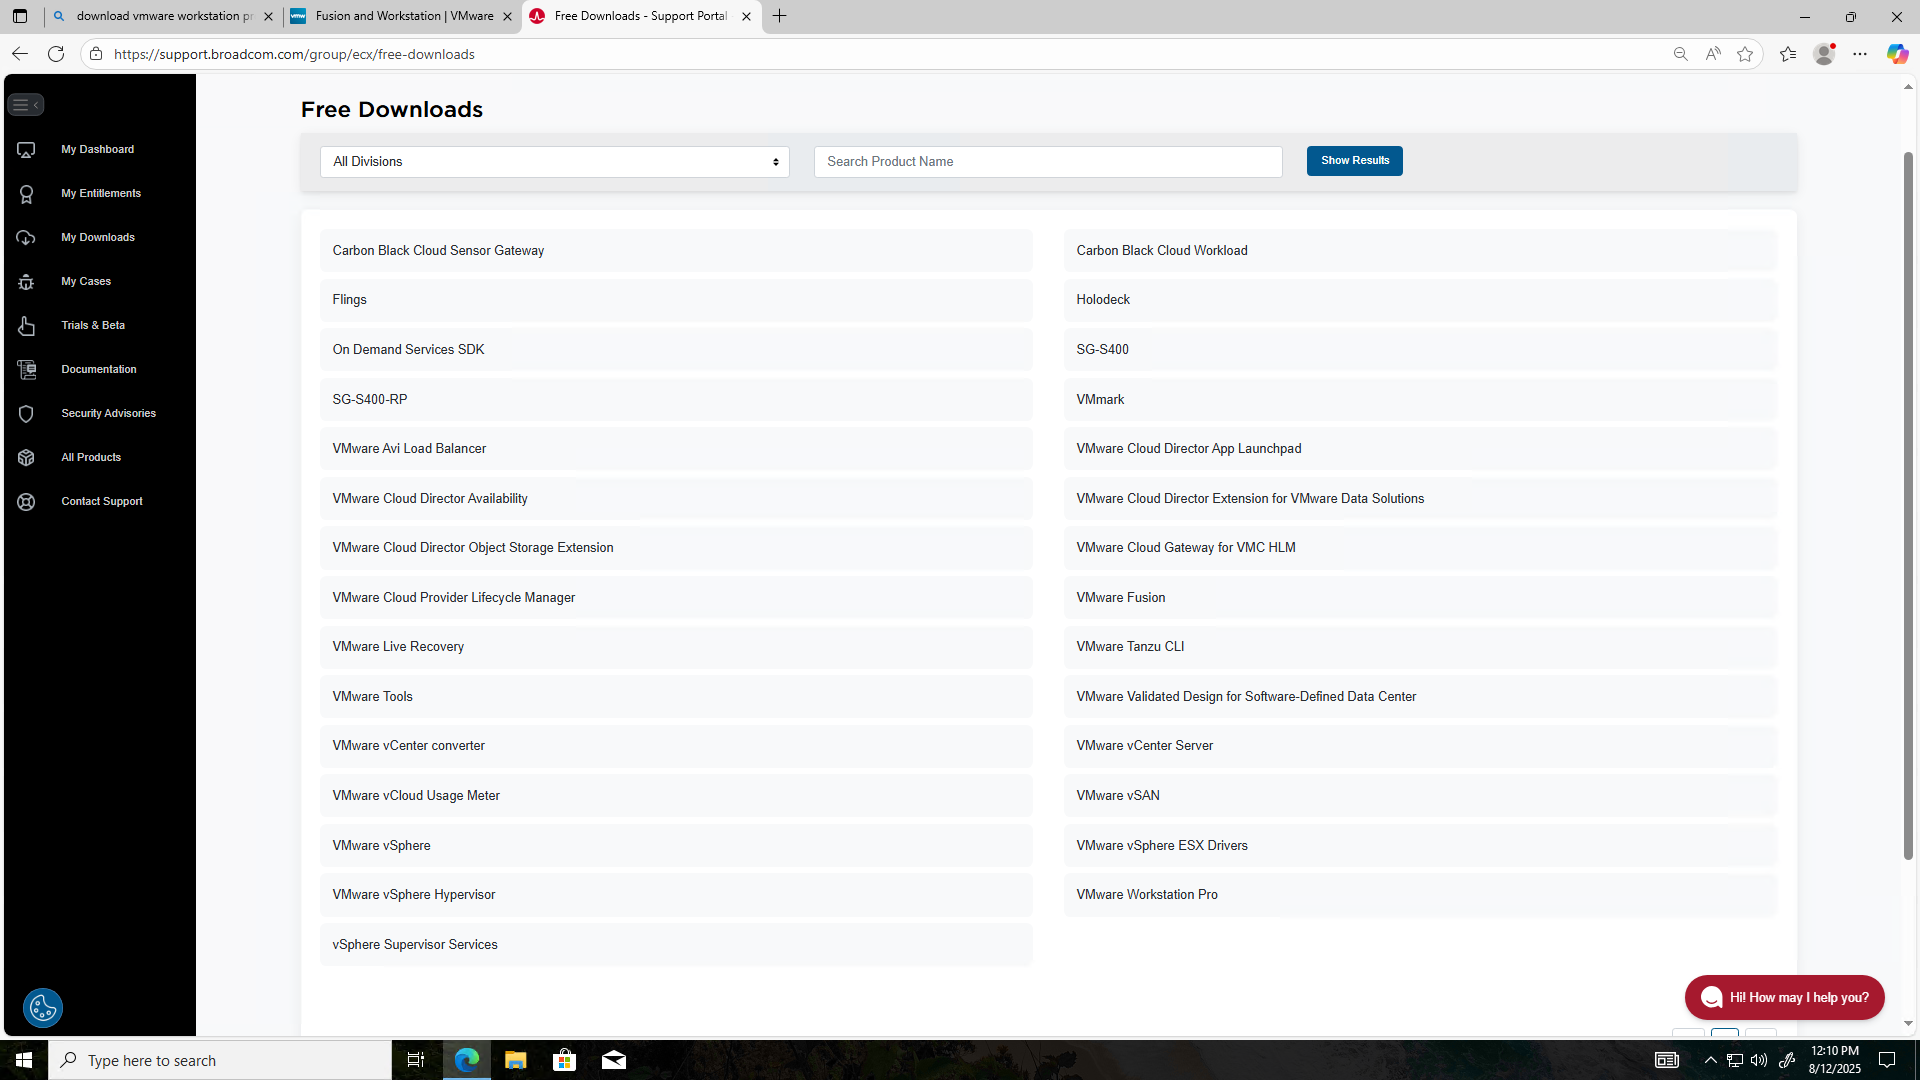
- Select VMware Workstation Pro 17.0 for Windows.

- Select the version that best suits your needs. In my case, I chose the latest available version at the time of this demonstration, which was 17.6.4.
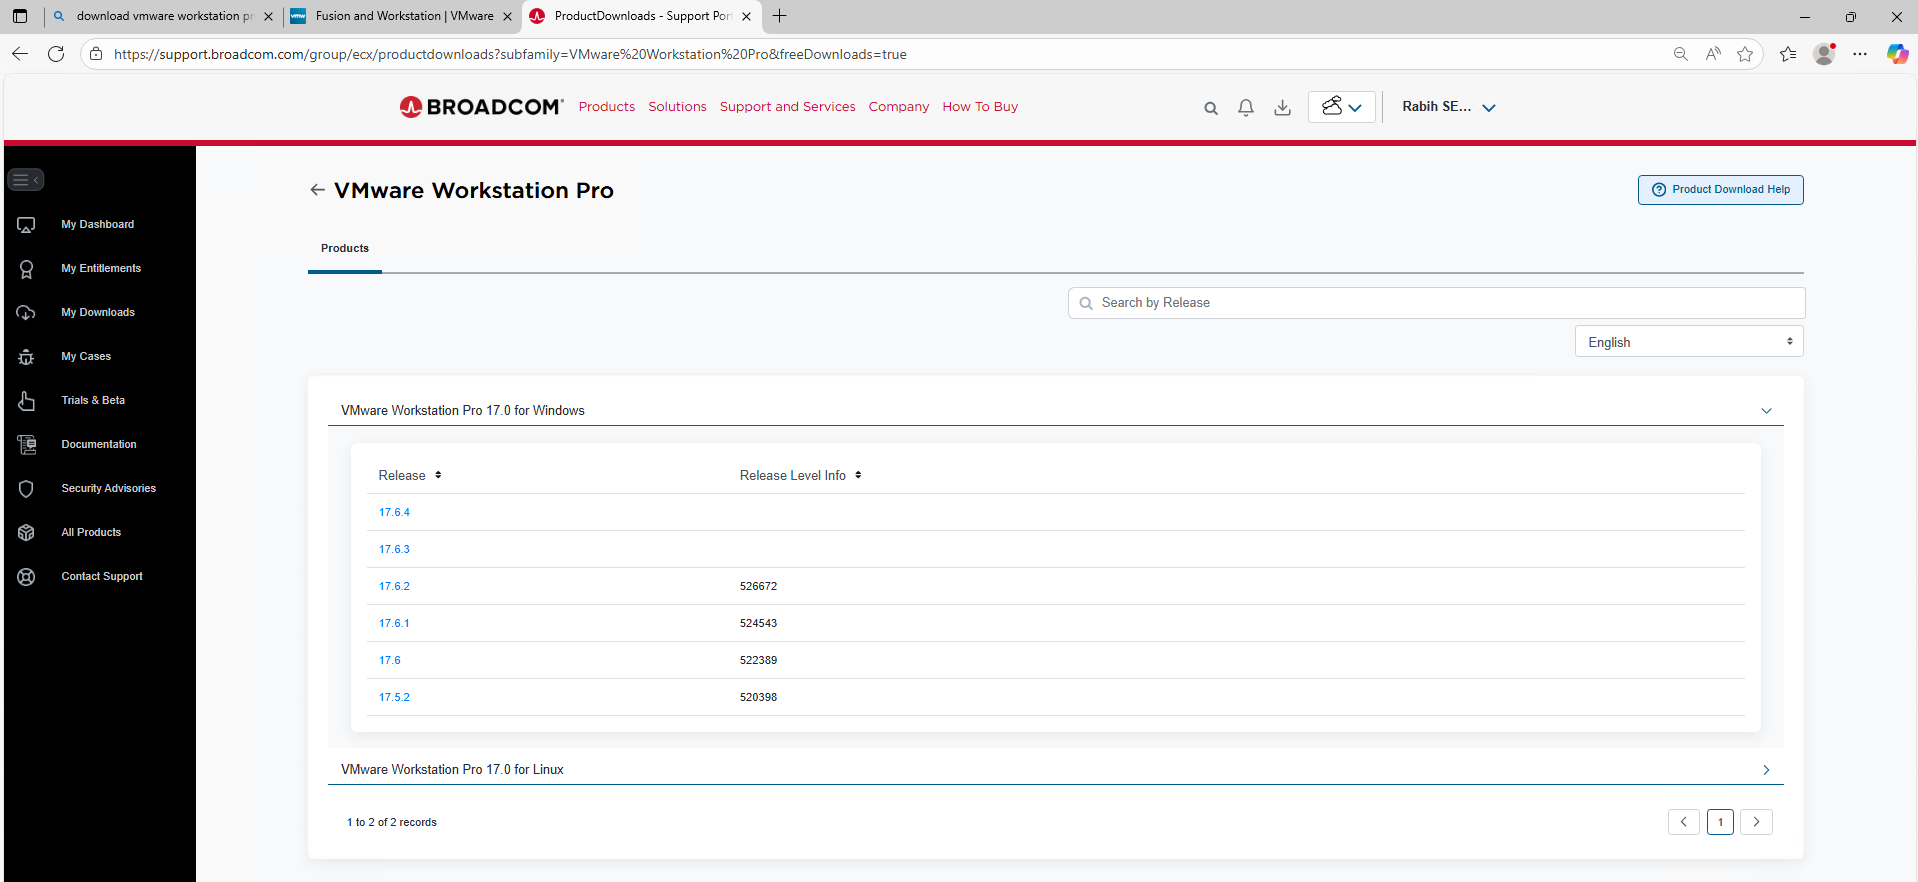
- Click on the download button
.

Note: If you’re unable to proceed, please ensure that you have accepted the licensing terms before clicking the ‘Download’ button.”
Step 3: Install VMware Workstation Pro
- Run the EXE File after downloading it. Click on Next

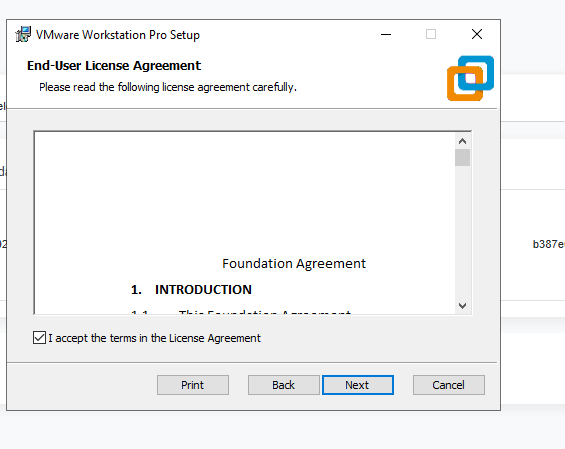
- Check the box “I accept the terms in the License Agreement”. Click on Next
- Ignore the info message and click on Next

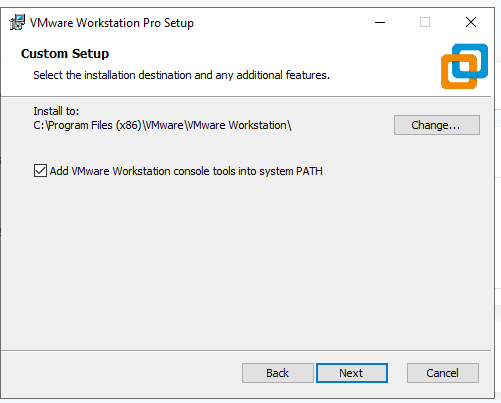
- Retain the default settings and proceed by clicking Next
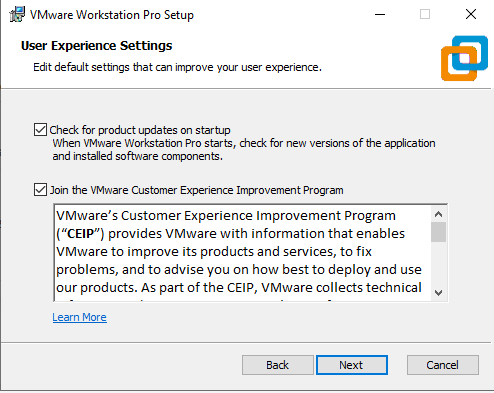
- Retain the default settings and proceed by clicking Next
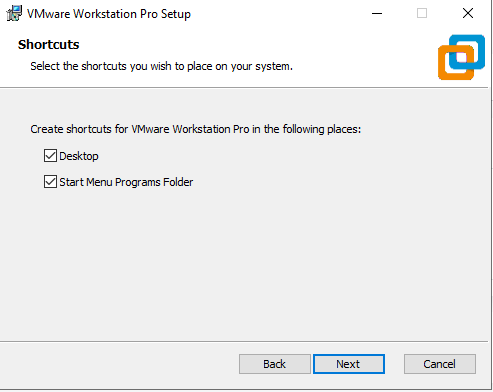
- Retain the default settings and proceed by clicking Next
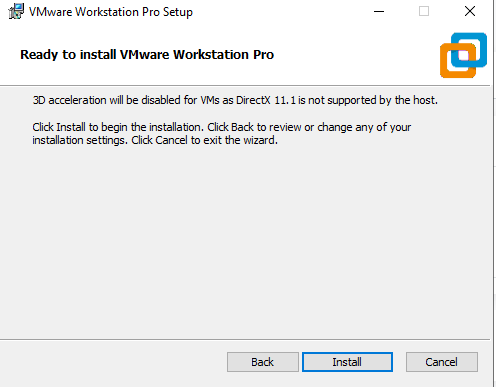
- Click on Install
- Click on Finish
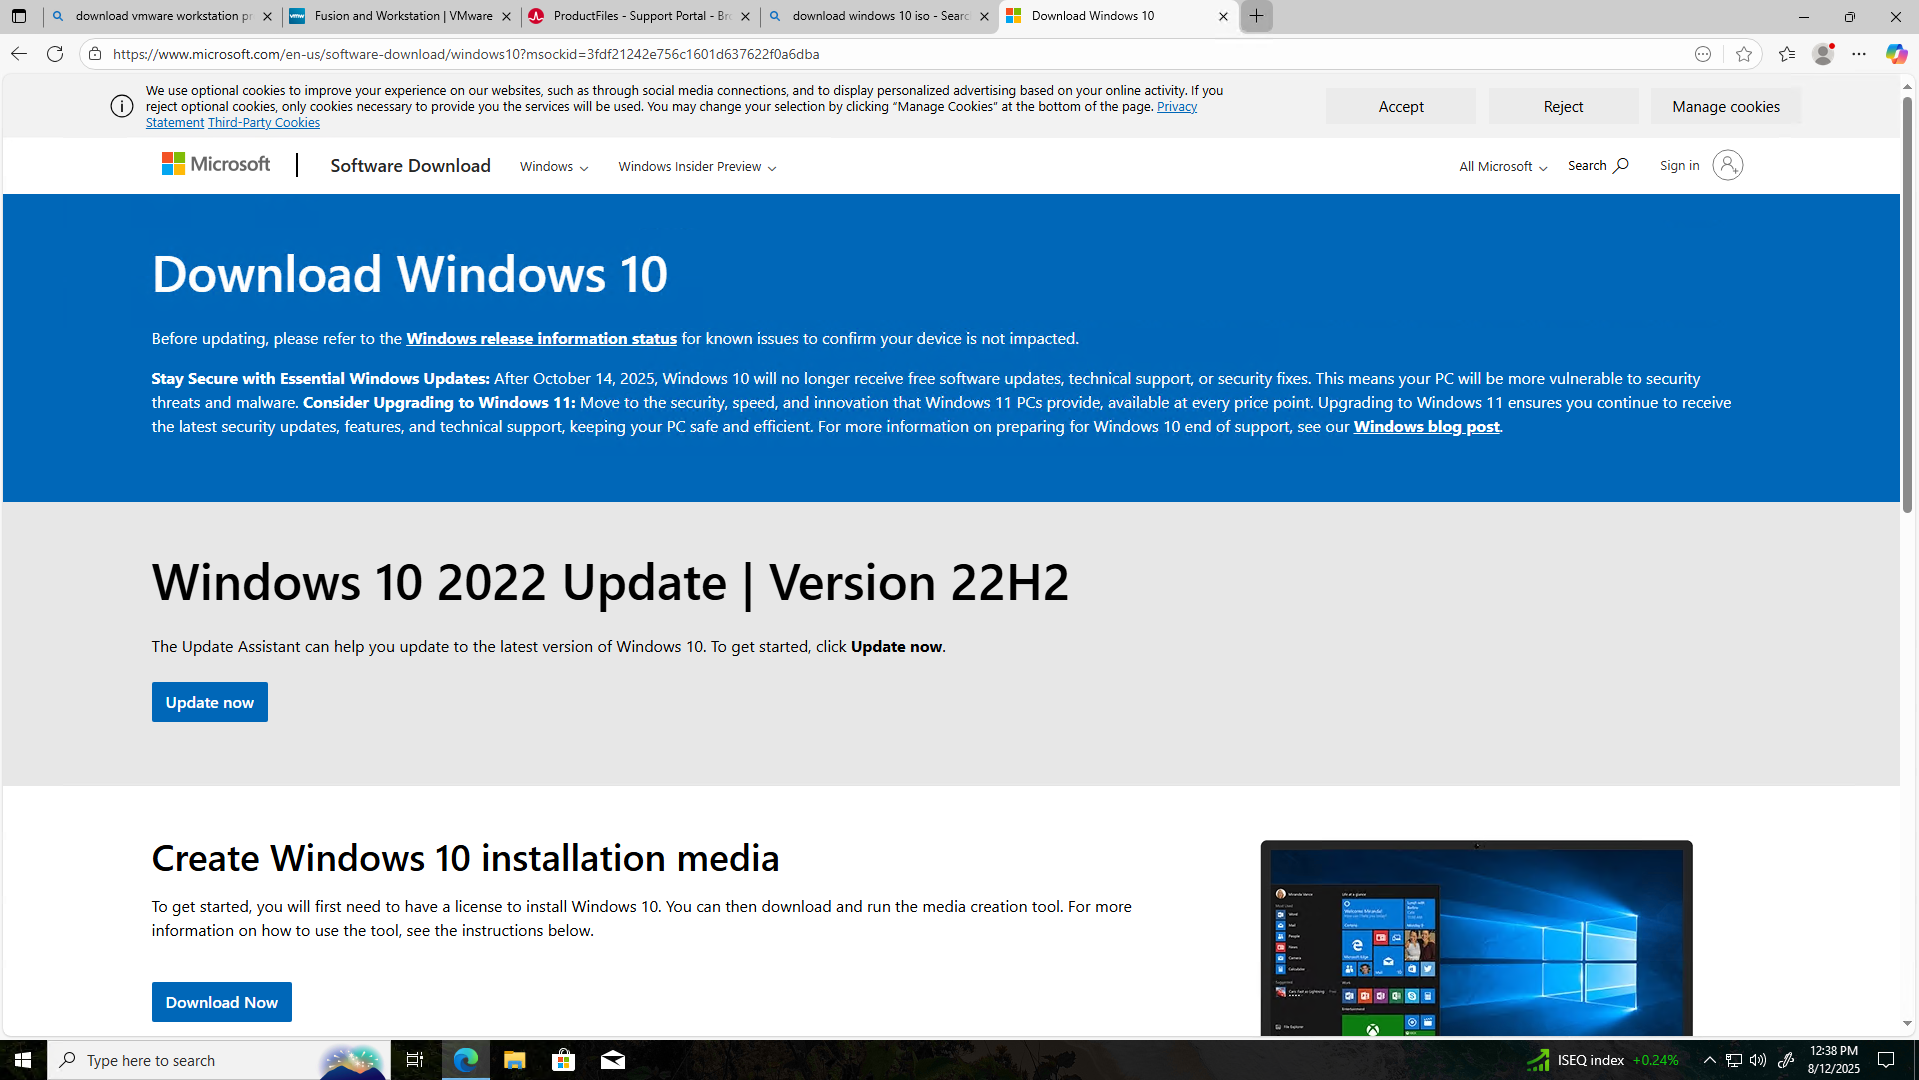
Step 4: Download Windows 10 ISO / latest version
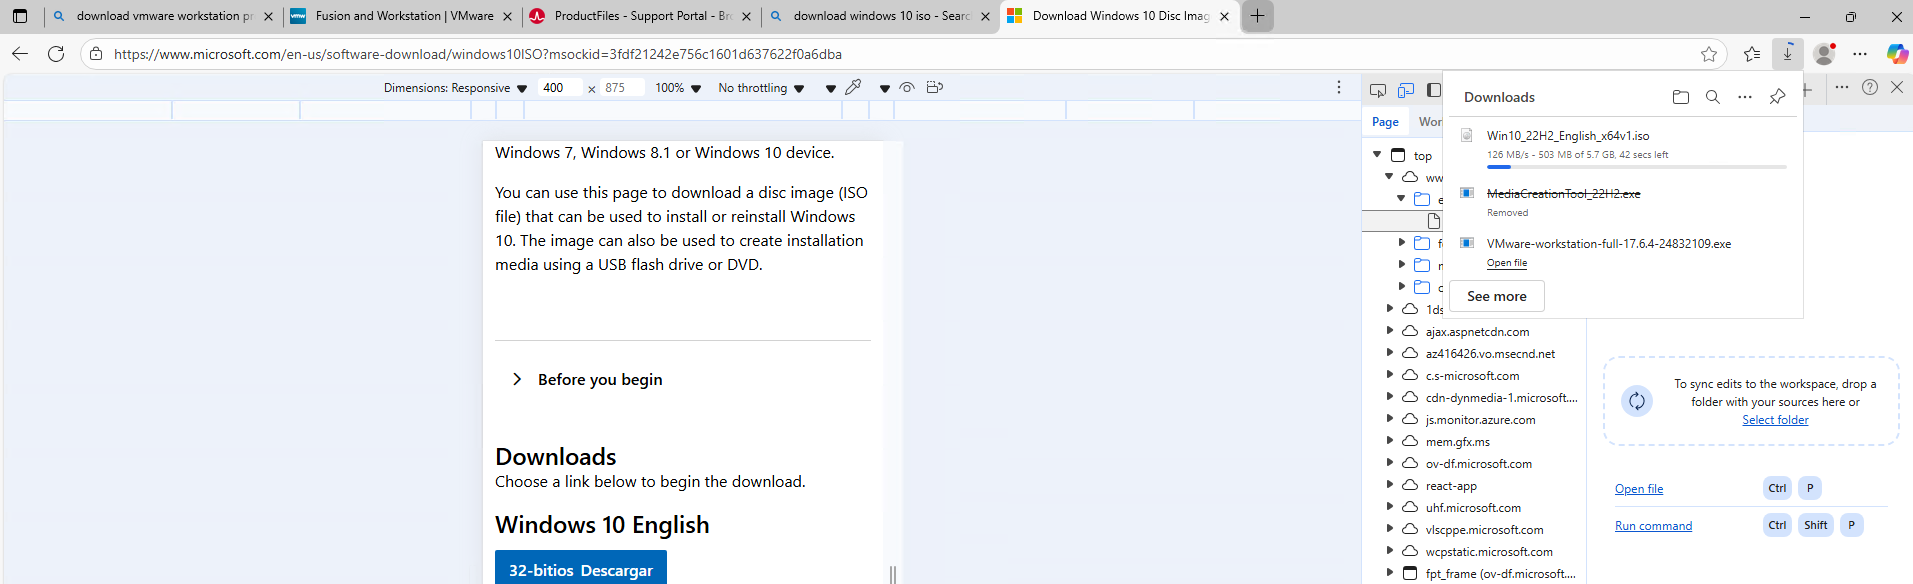
- Navigate to https://www.microsoft.com/software-download/windows10. This page provides access to the Windows Media Creation Tool, but not the ISO file directly. In this guide, I’ll show you how to locate and download the Windows 10 ISO file.
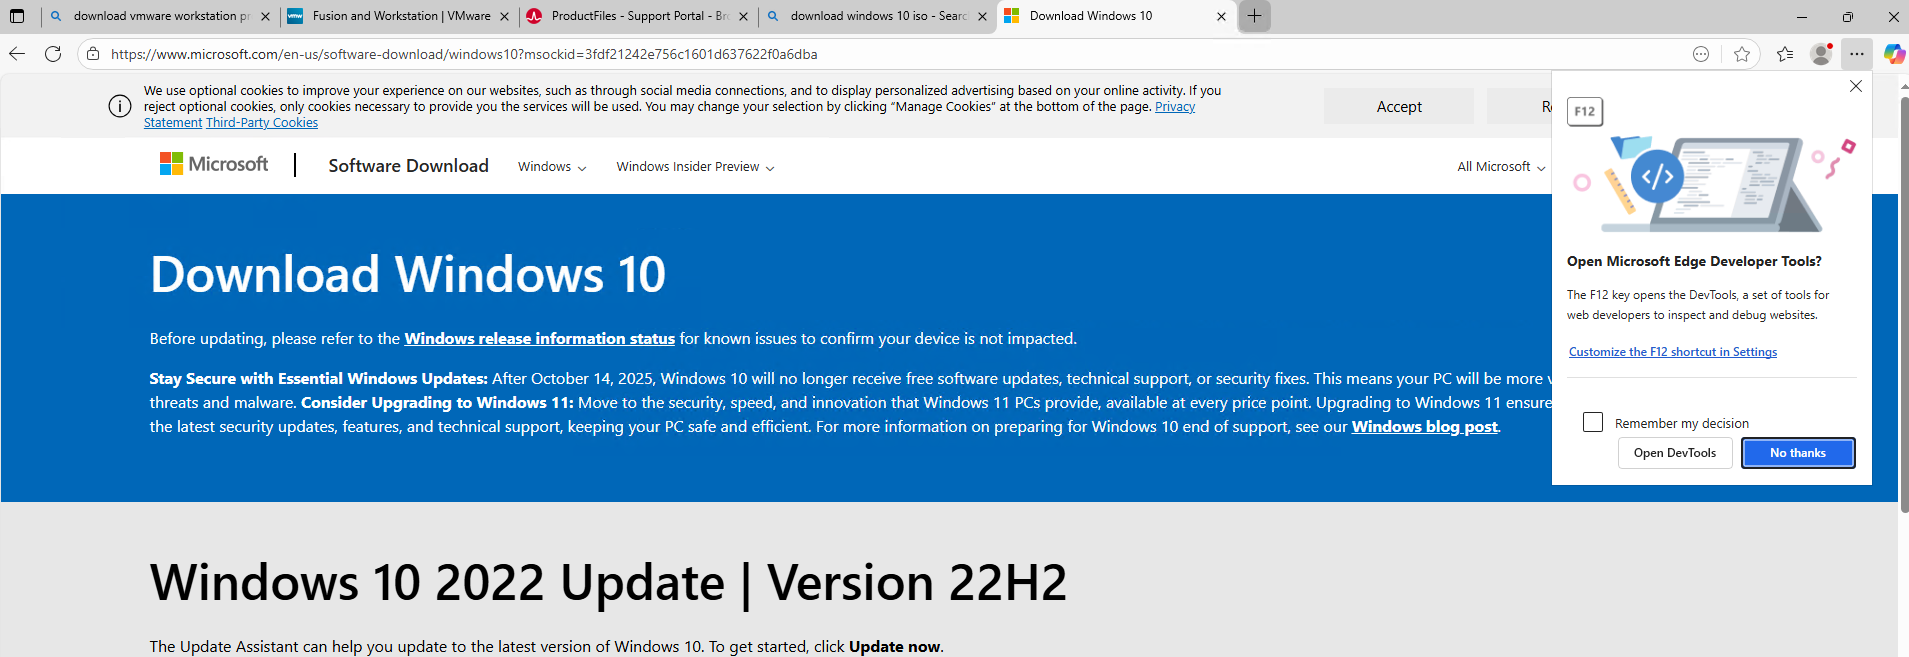
- Press F12 inside Edge Navigator or Google Chrome to access Developper Tools.
- Click the Mobile button
and then Refresh the page.
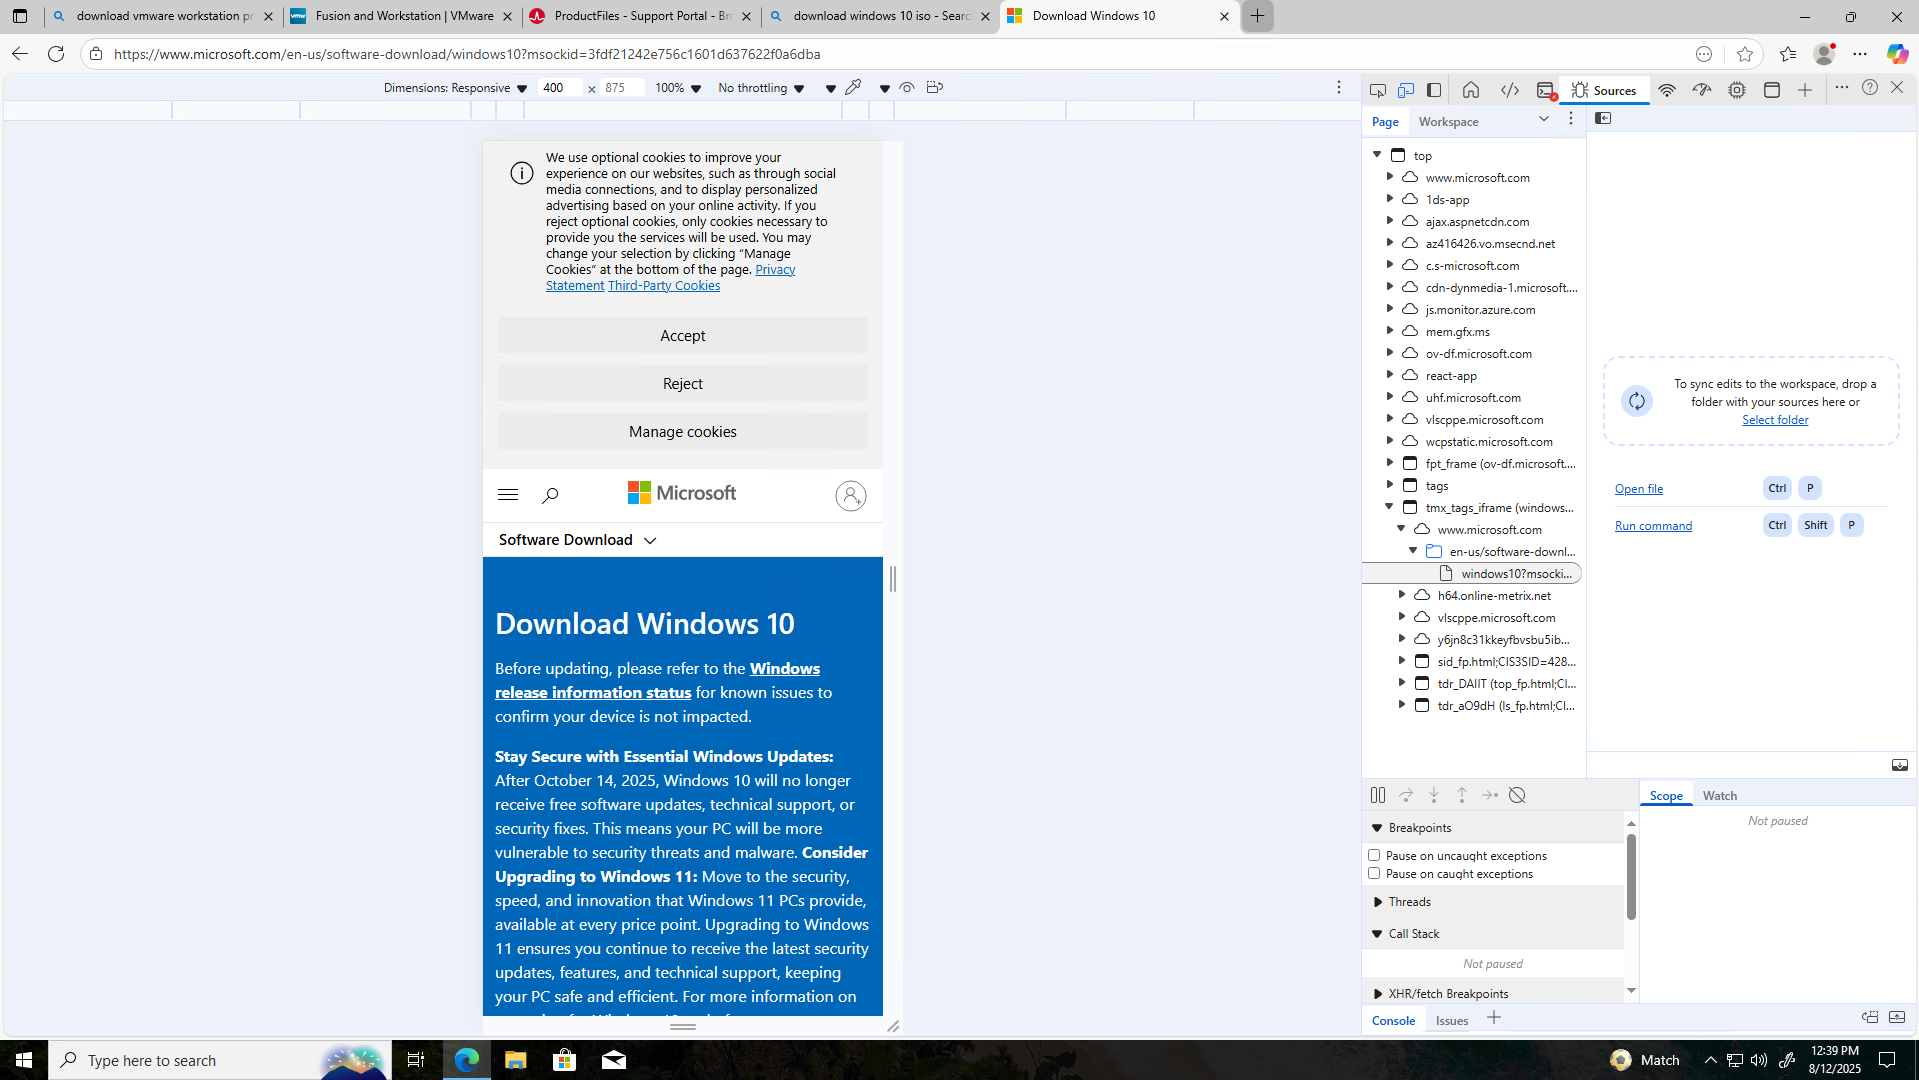
- You will be to get the latest version of Windows 10. Click on Confirm
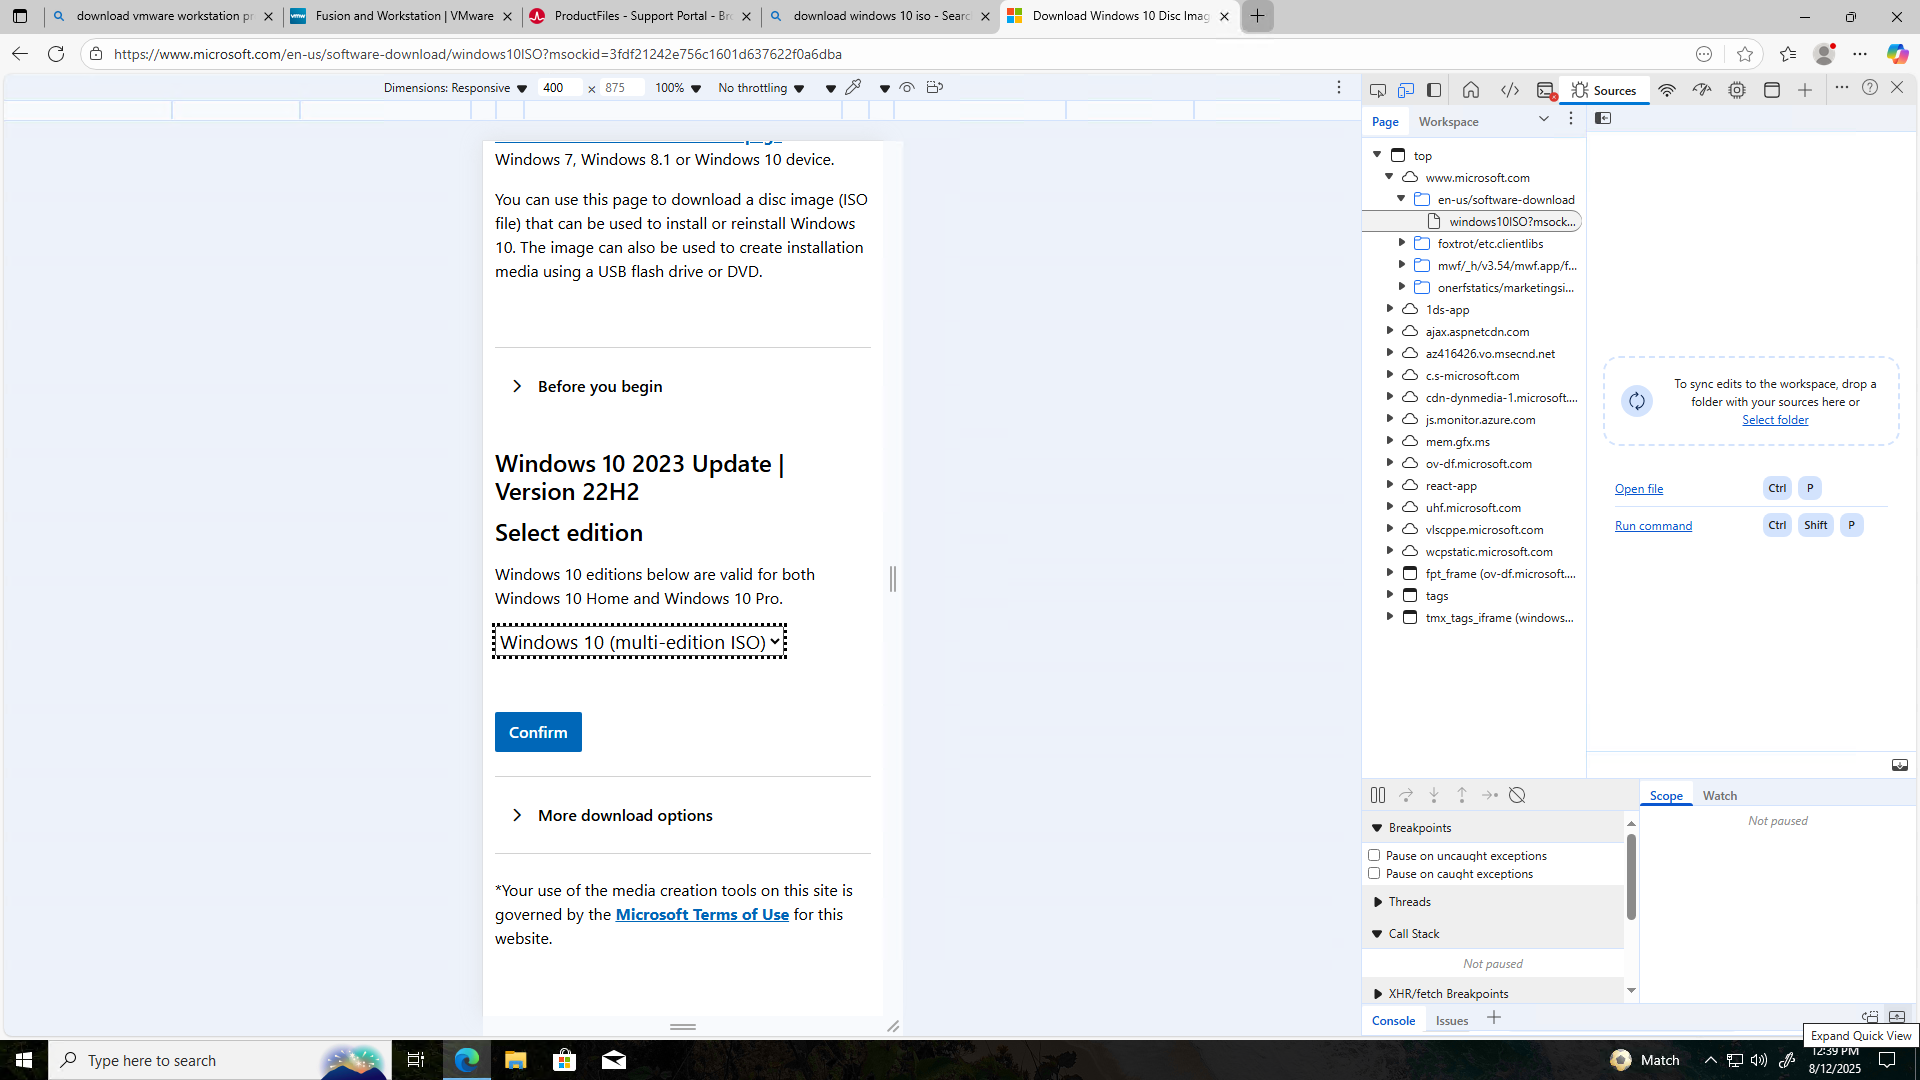
- Select the product language and then click on Confirm
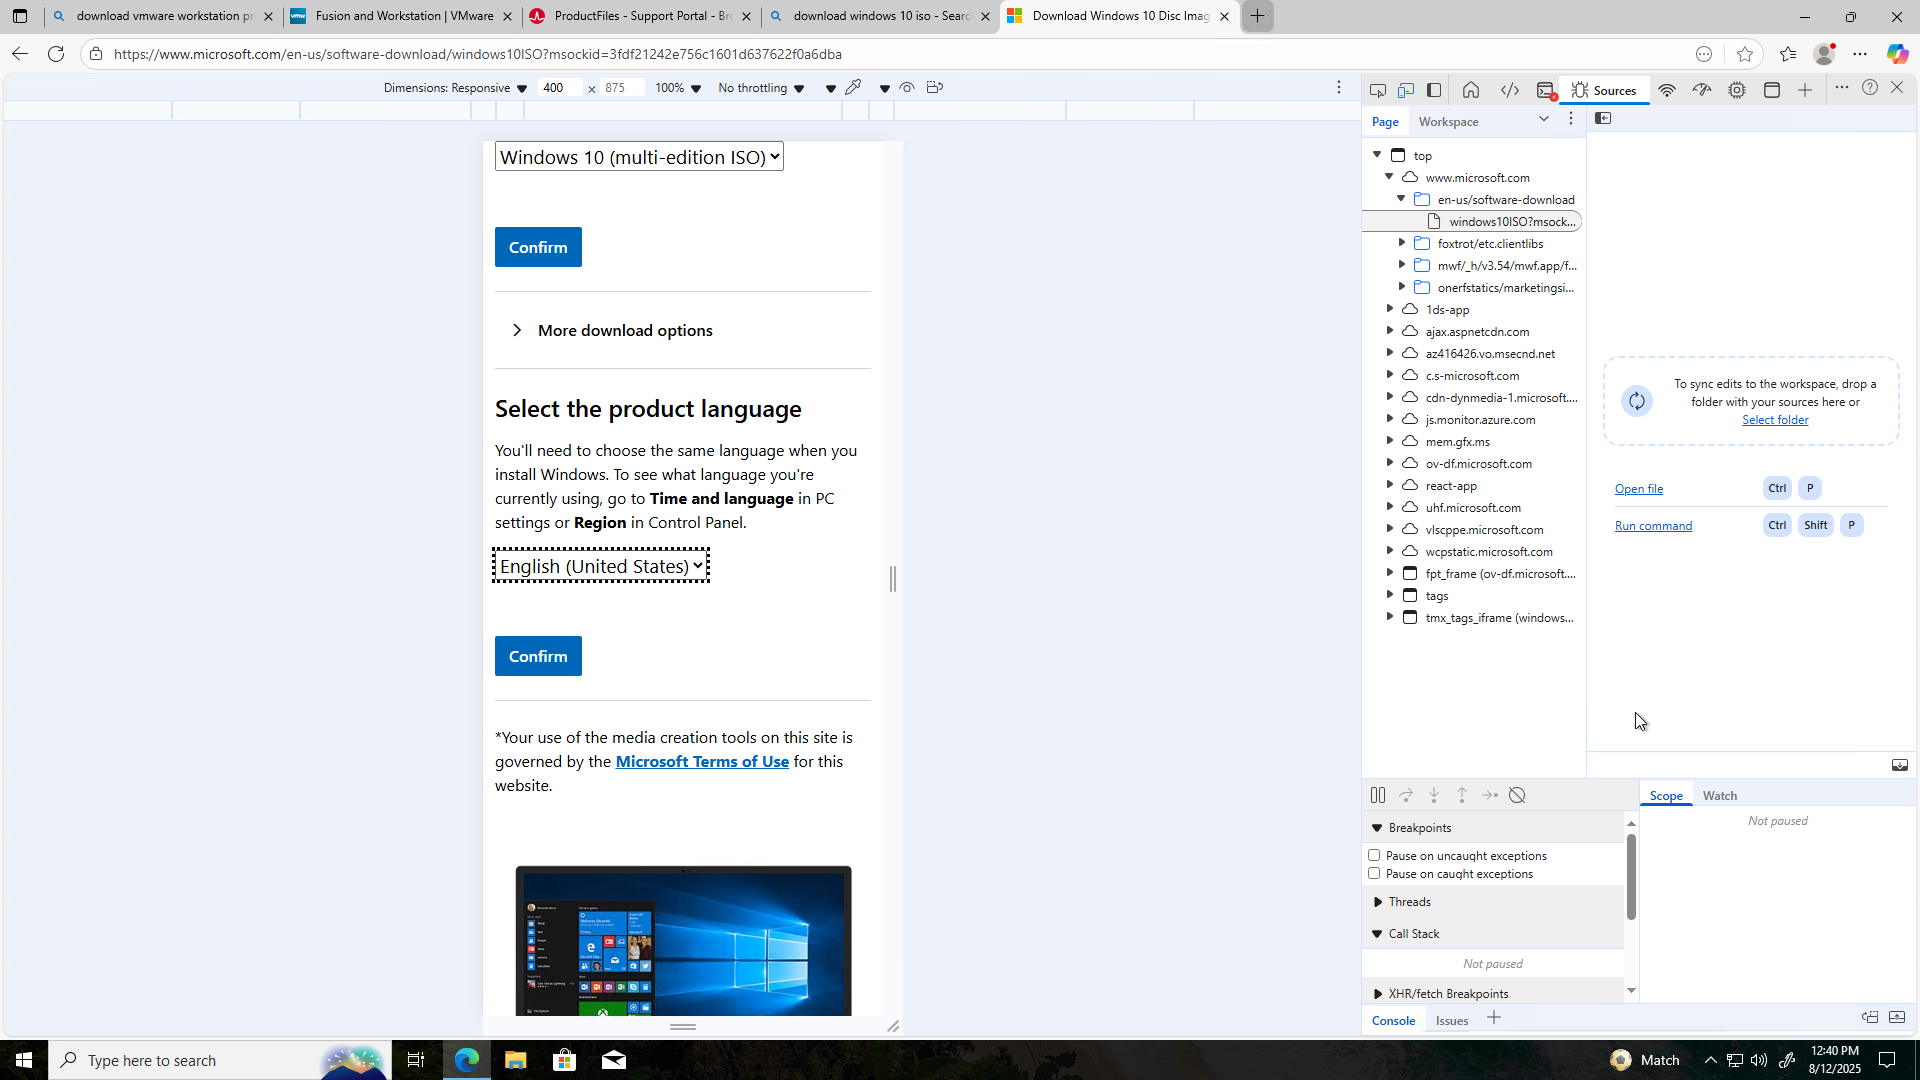
- In the Downloads section, you can click 64-bitios Descargar. Don’t worry the Windows installation will be in the language you selected in Step 5.
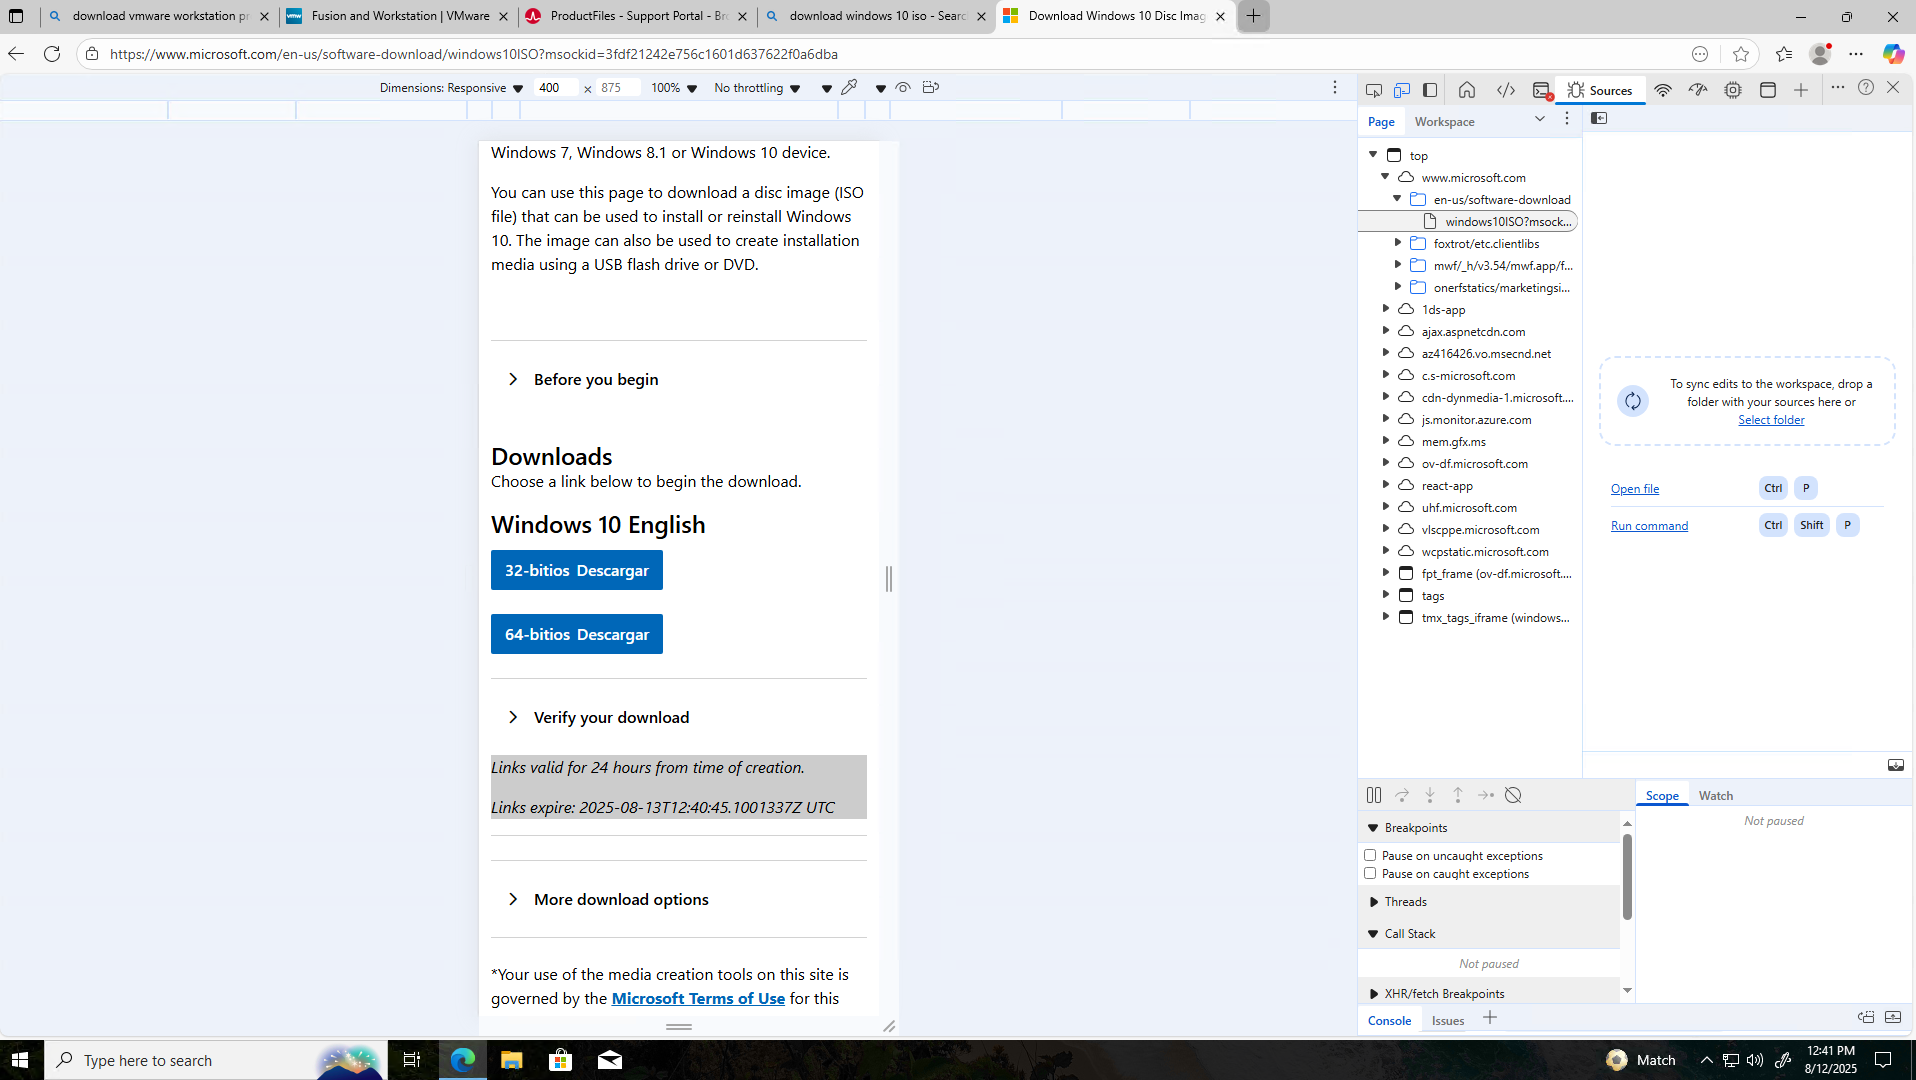
- The ISO will be downloaded.
Step 5: Creating a VM inside VMware Workstation Pro
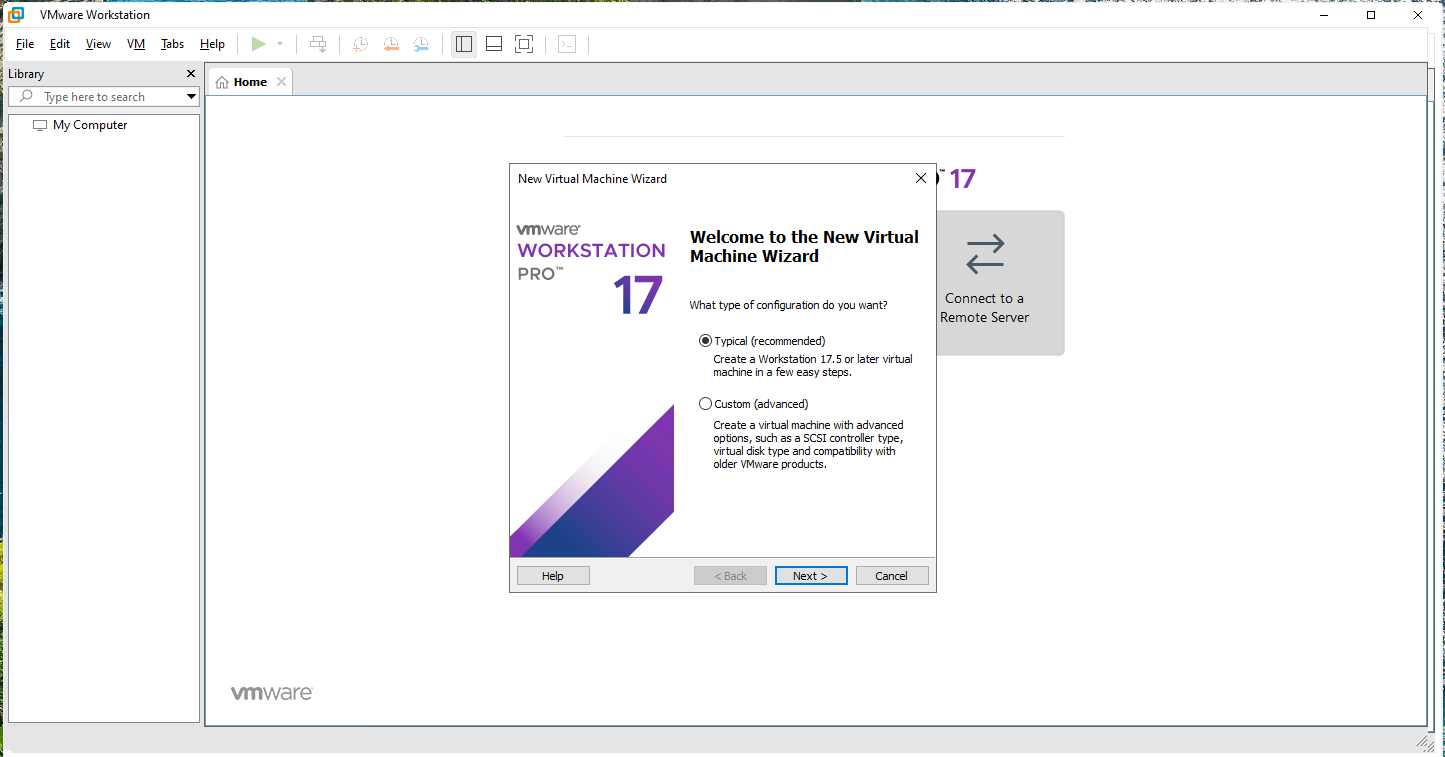
- Click on File -> Create new VM -> Click Next
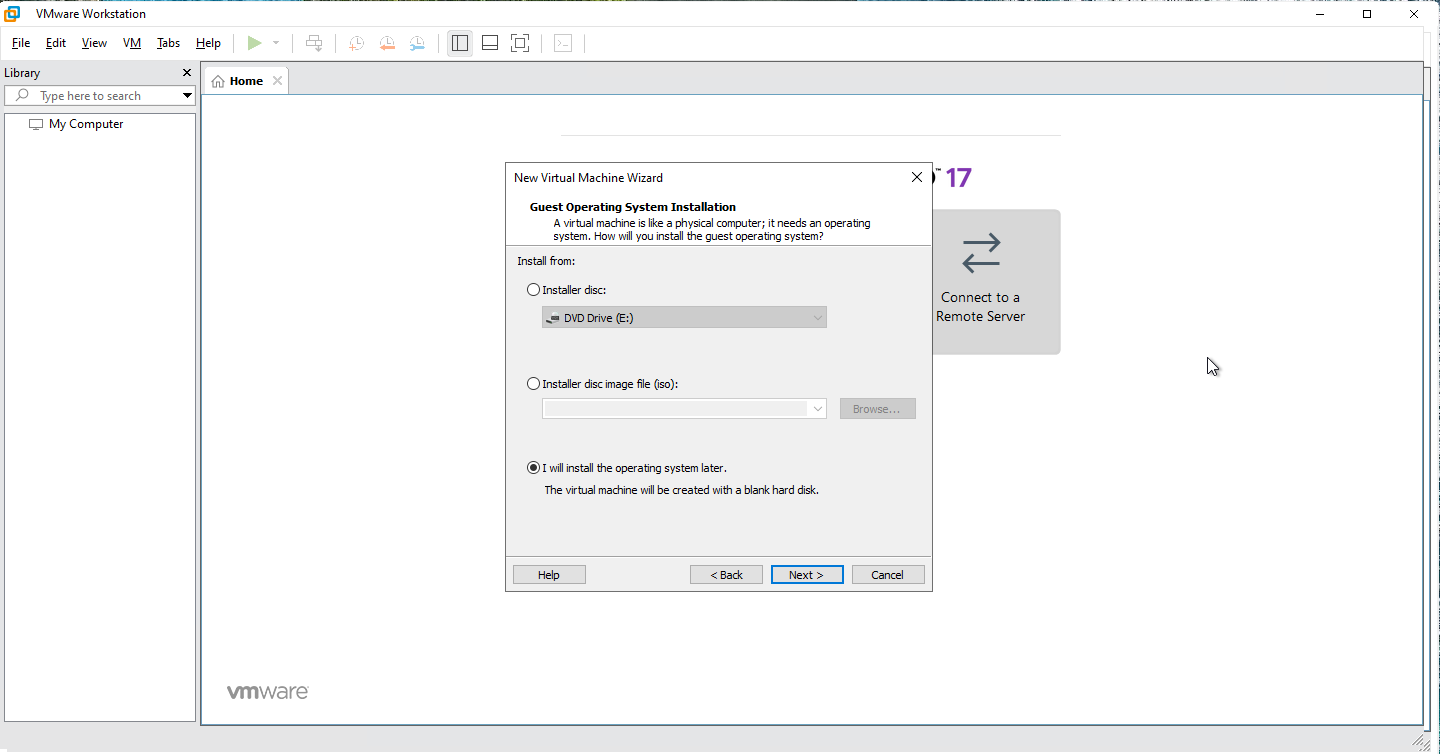
- Select I will install the operating system later or you can select Installer disc image file (iso) -> Browse -> Choose the path of the downloaded iso file done in Step 4.
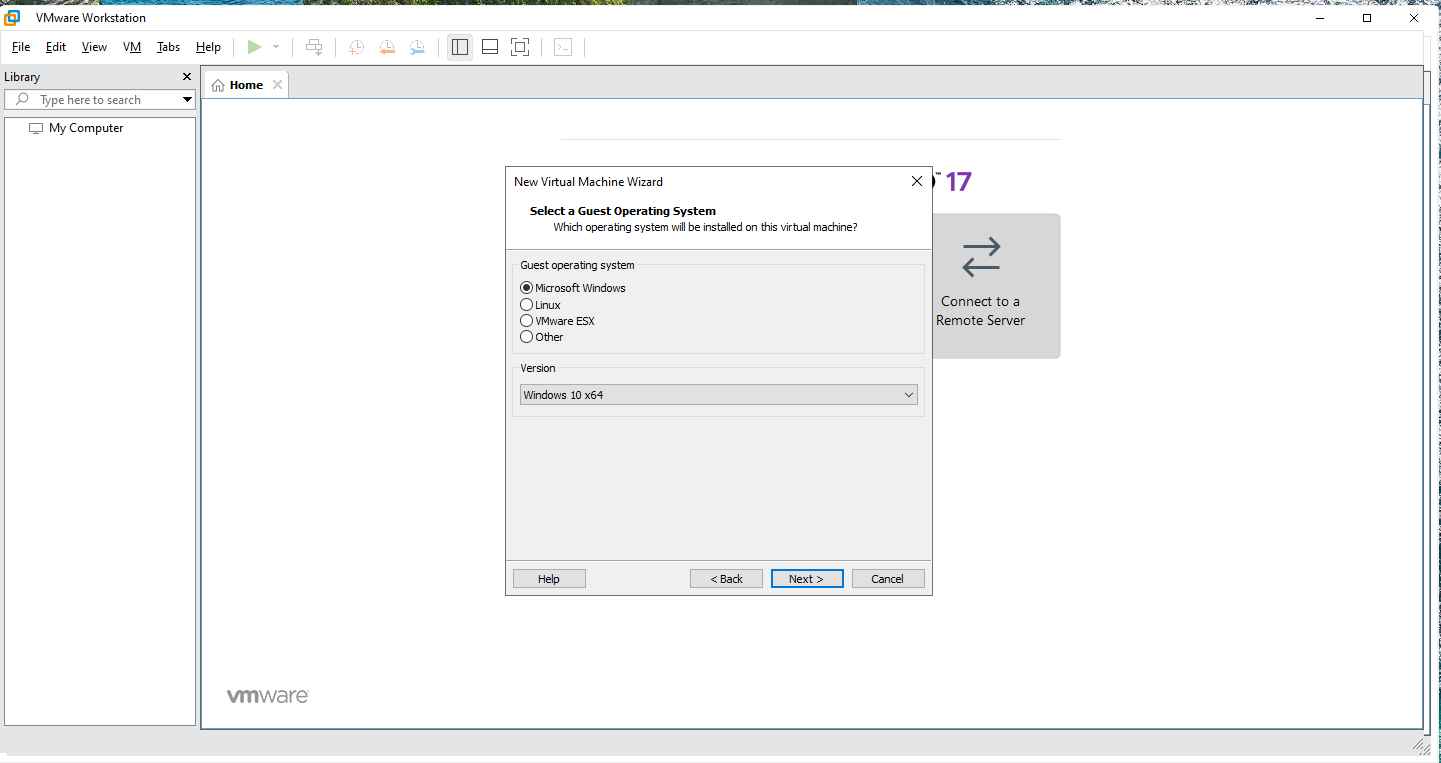
- Select Microsoft Windows for the Guest OS and for the Version Windows 10 X64. Click Next
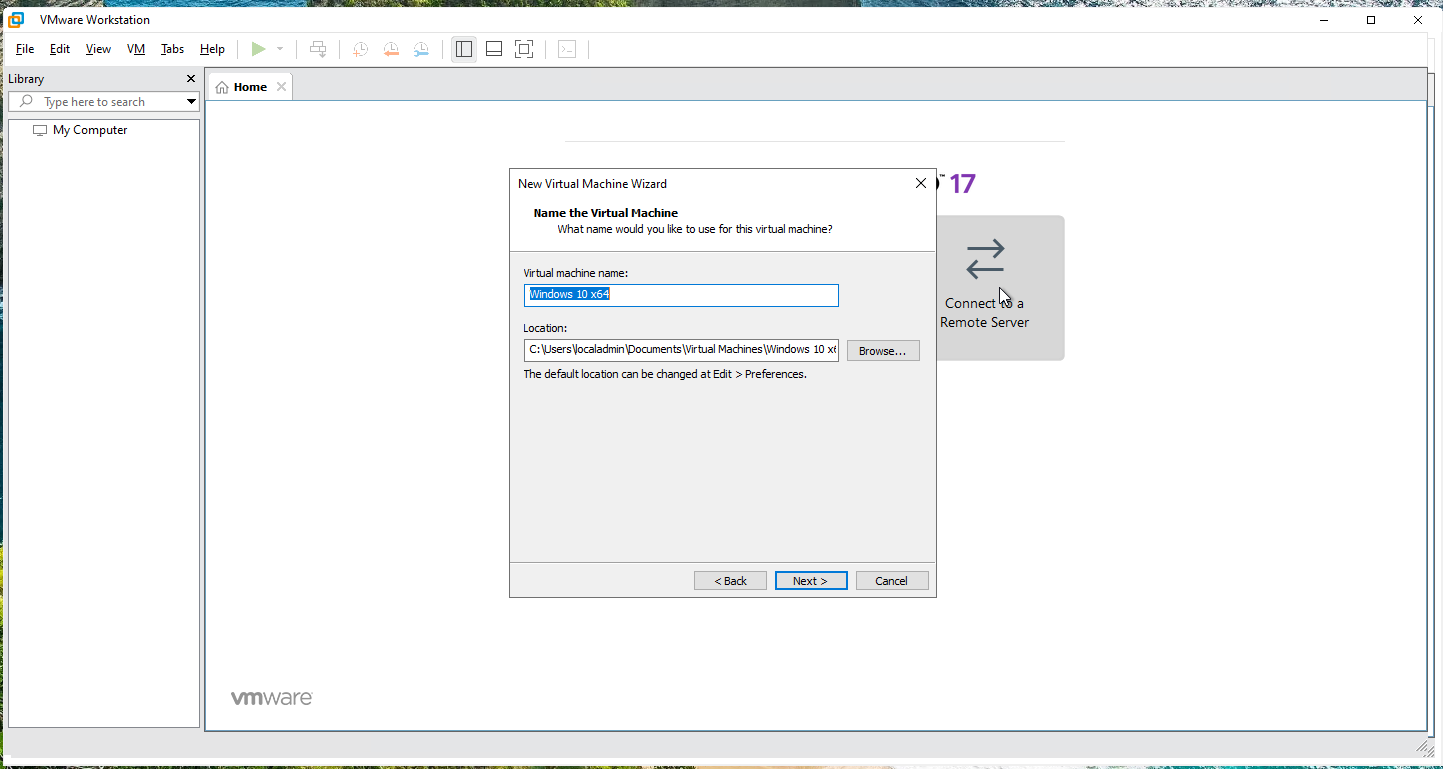
- Set a Virtual Machine Name, location and then click Next
- Choose your size Disk. Click Next

- Click Finish

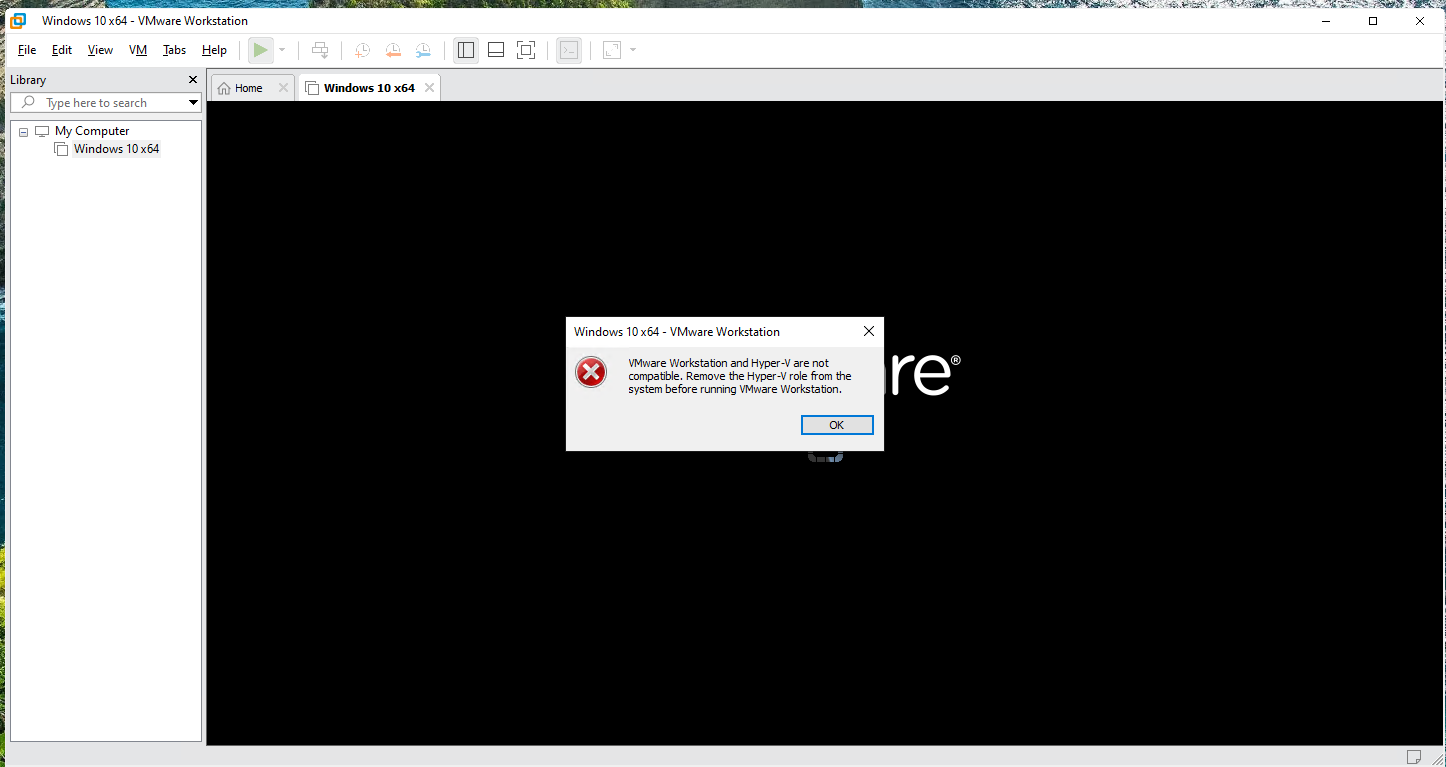
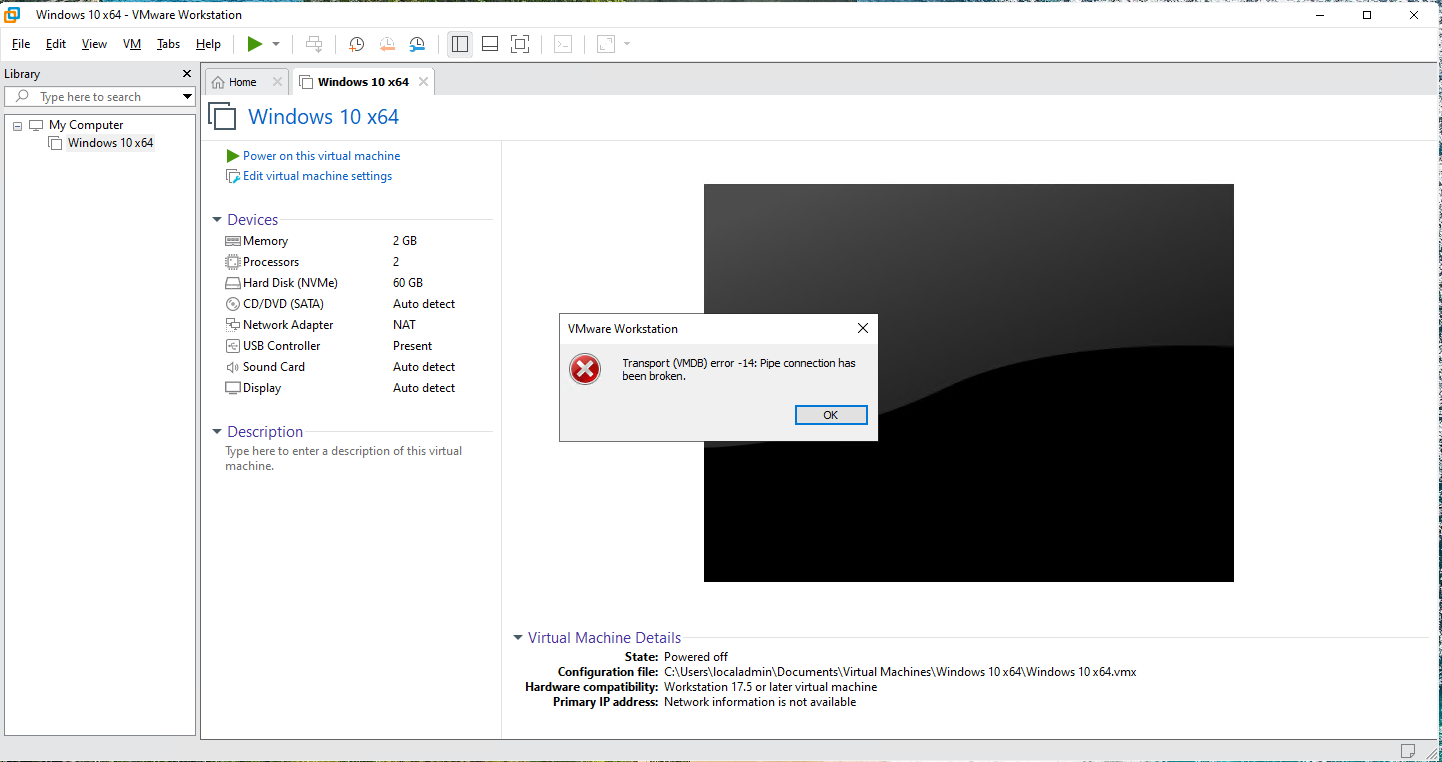
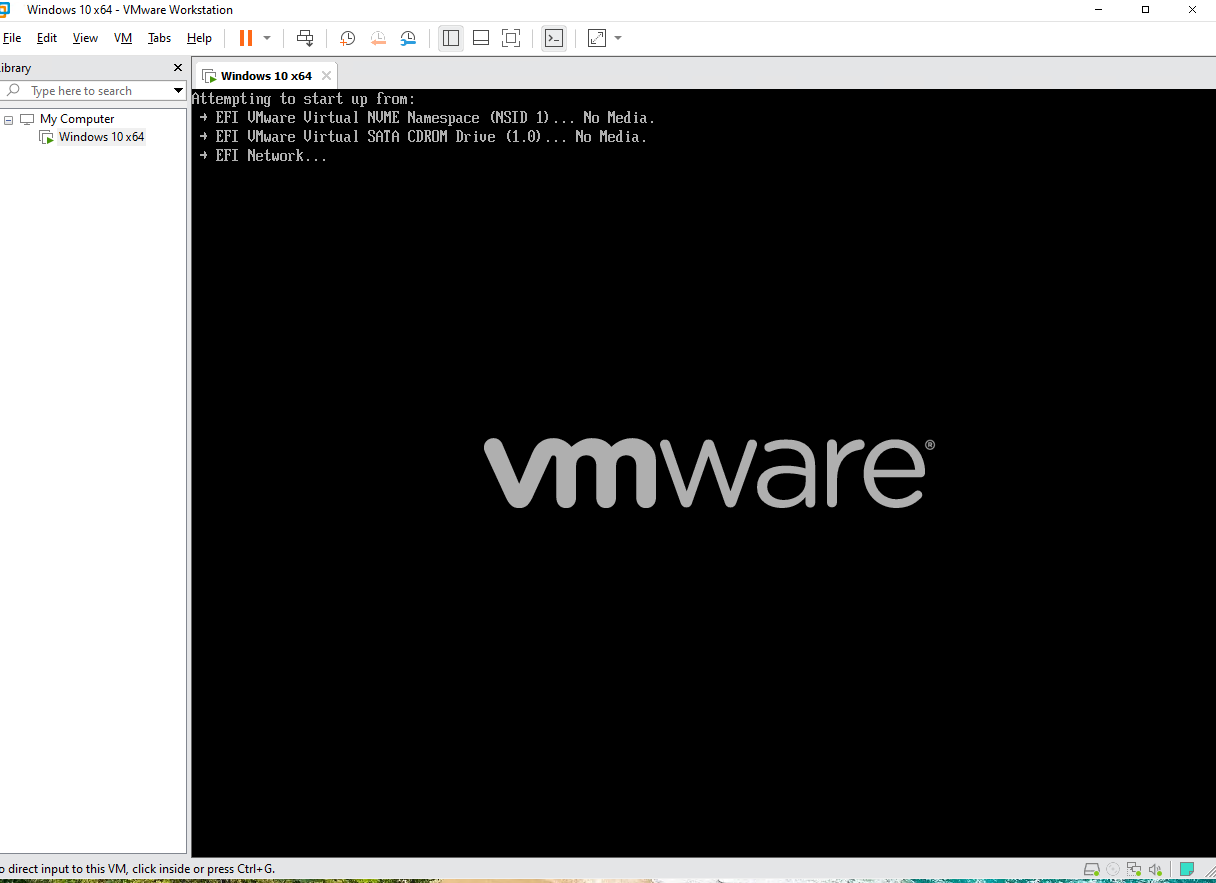
- Power on the virtual machine. Note that even if the ISO file has not been selected, the VM can still be started. However, you will encounter an error stating that Hyper-V and VMware Workstation are not compatible. This is why I included enabling the Hyper-V role as a prerequisite. Nevertheless, I wanted to demonstrate what happens when this step is skipped and show the specific error message that appears.
Step 6 or Step 0: Installing Hyper-V role / Fix the error message in Step 5
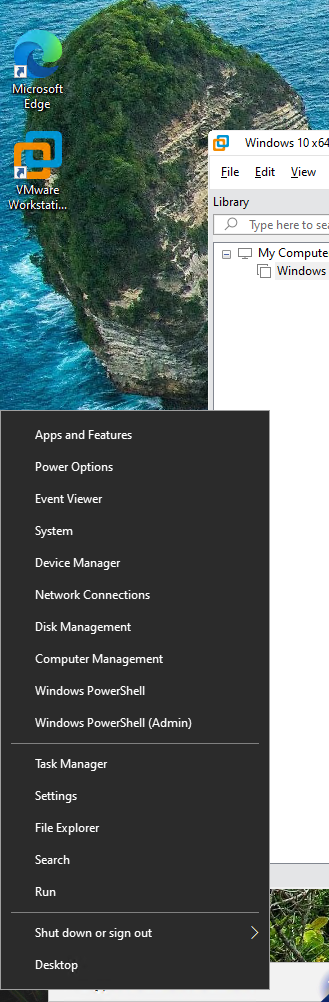
- Right click on the Start Menu -> Click on Windows PowerShell (Admin)
- Run the command below.
Enable-WindowsOptionalFeature -Online -FeatureName Microsoft-Hyper-V -All
Restart your VM.
Step 7: Power-on the VM and Install Windows 10
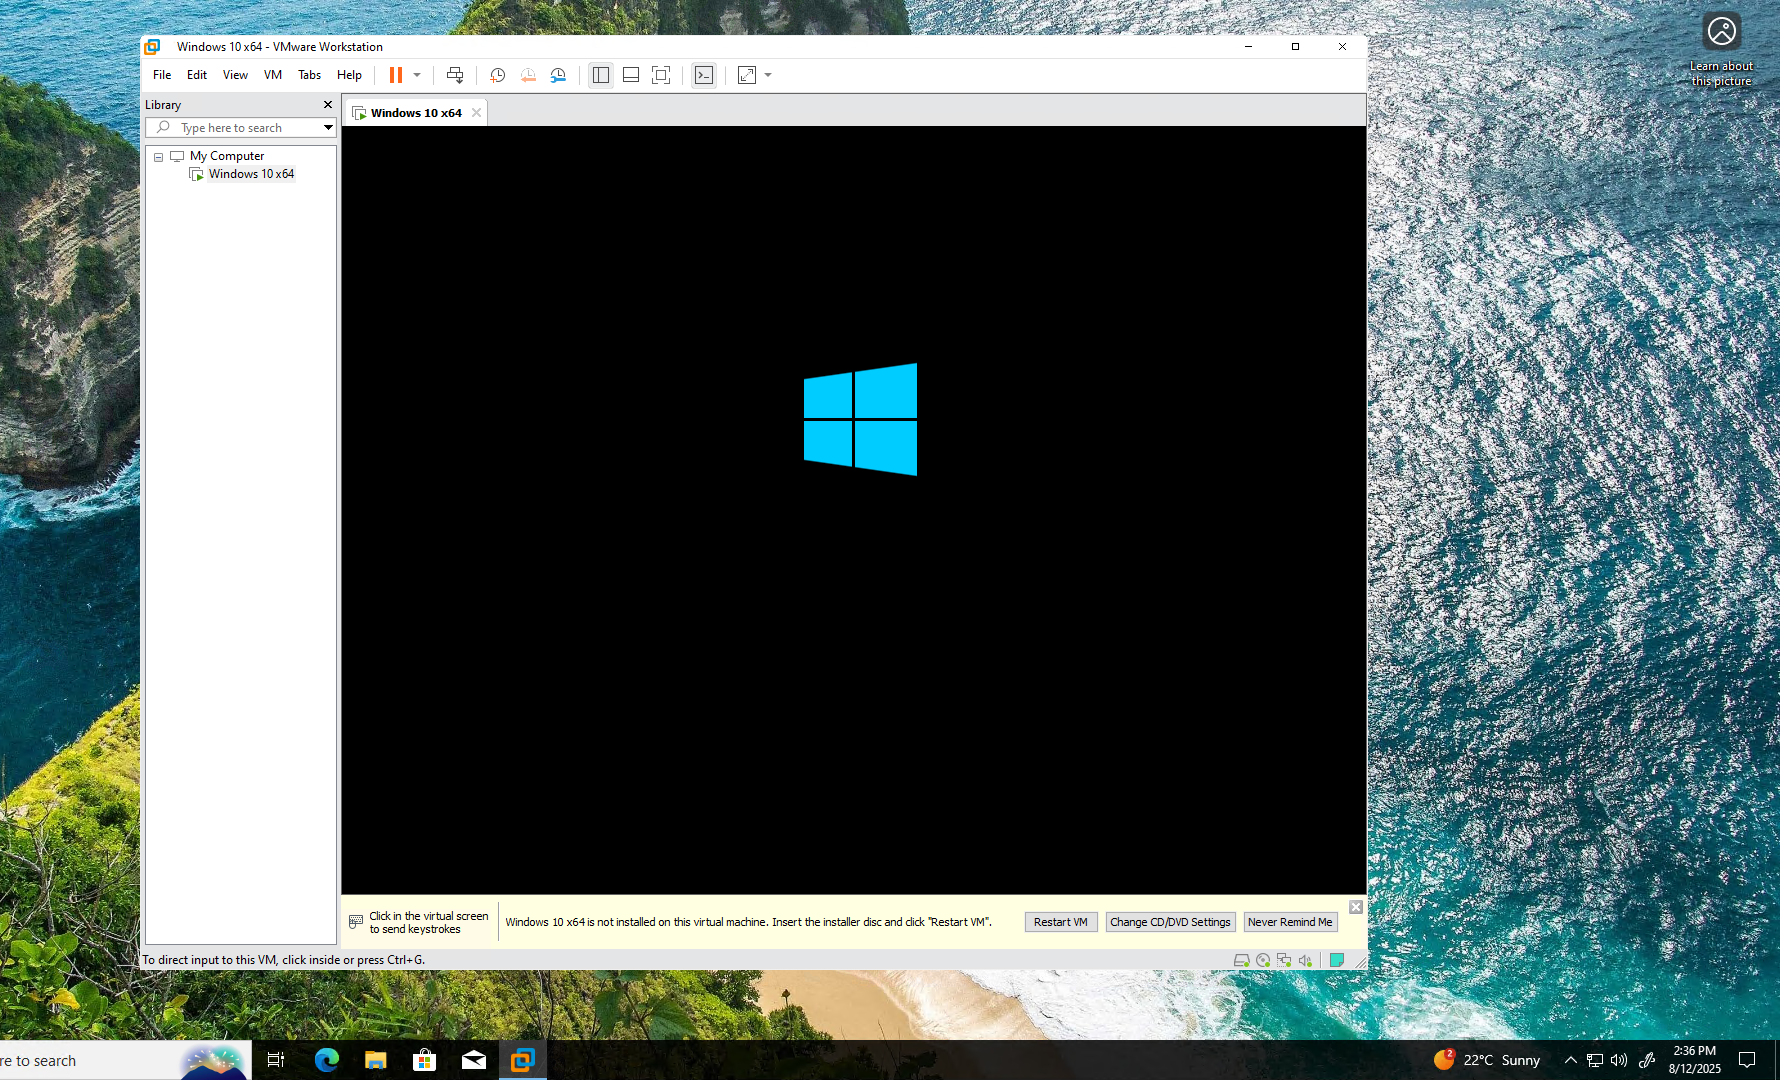
- Power-On the VM. The error message has gone.
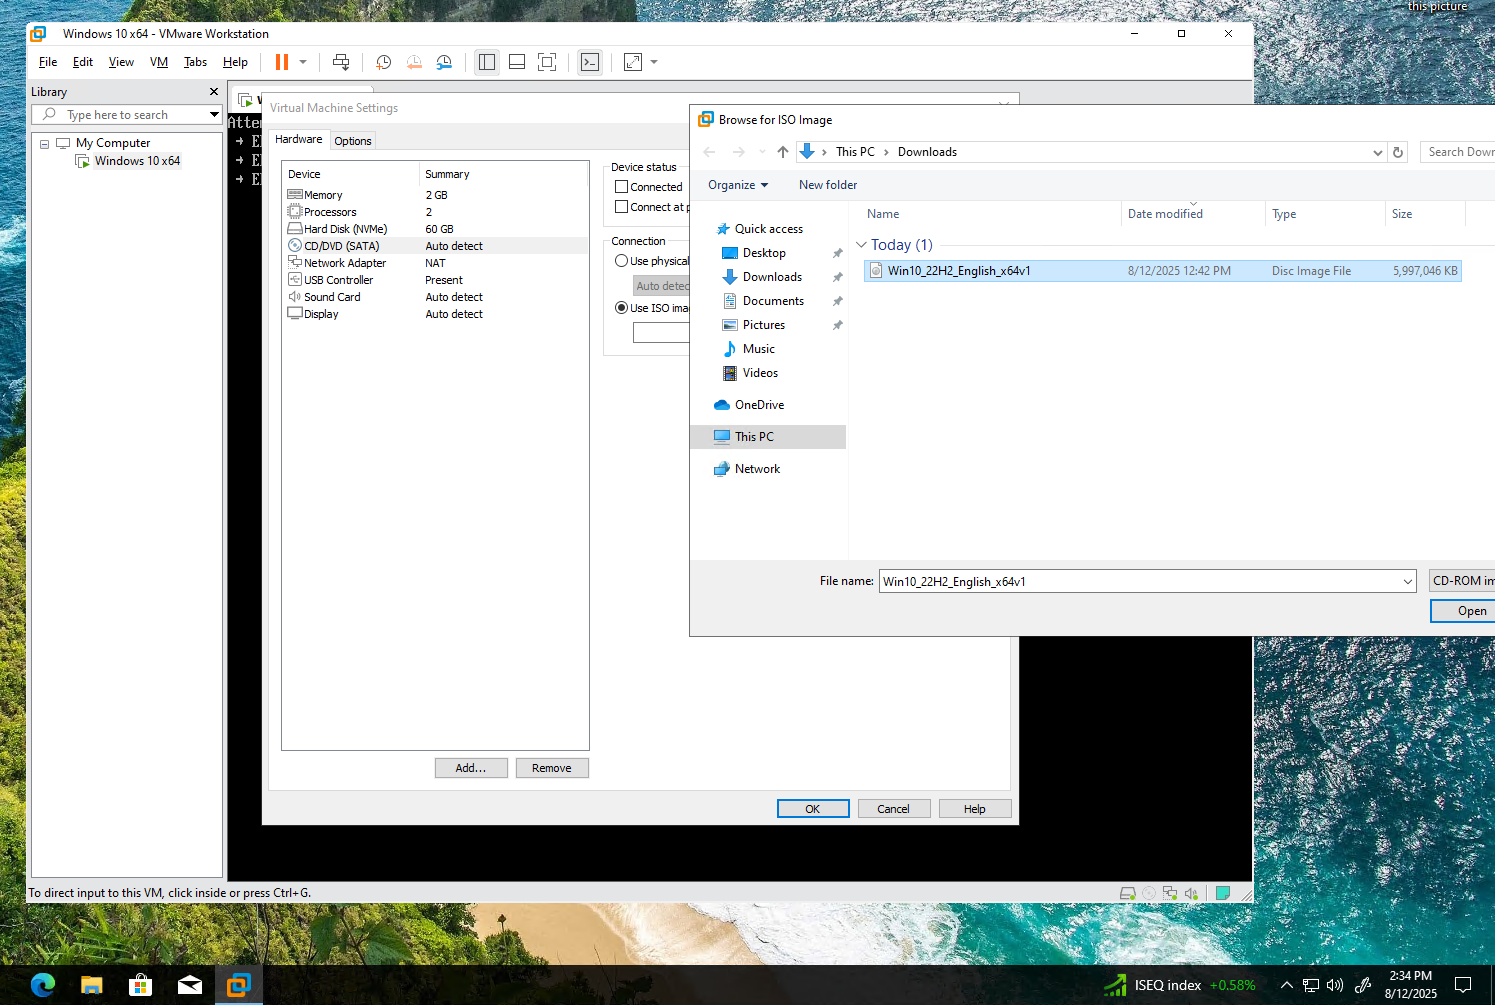
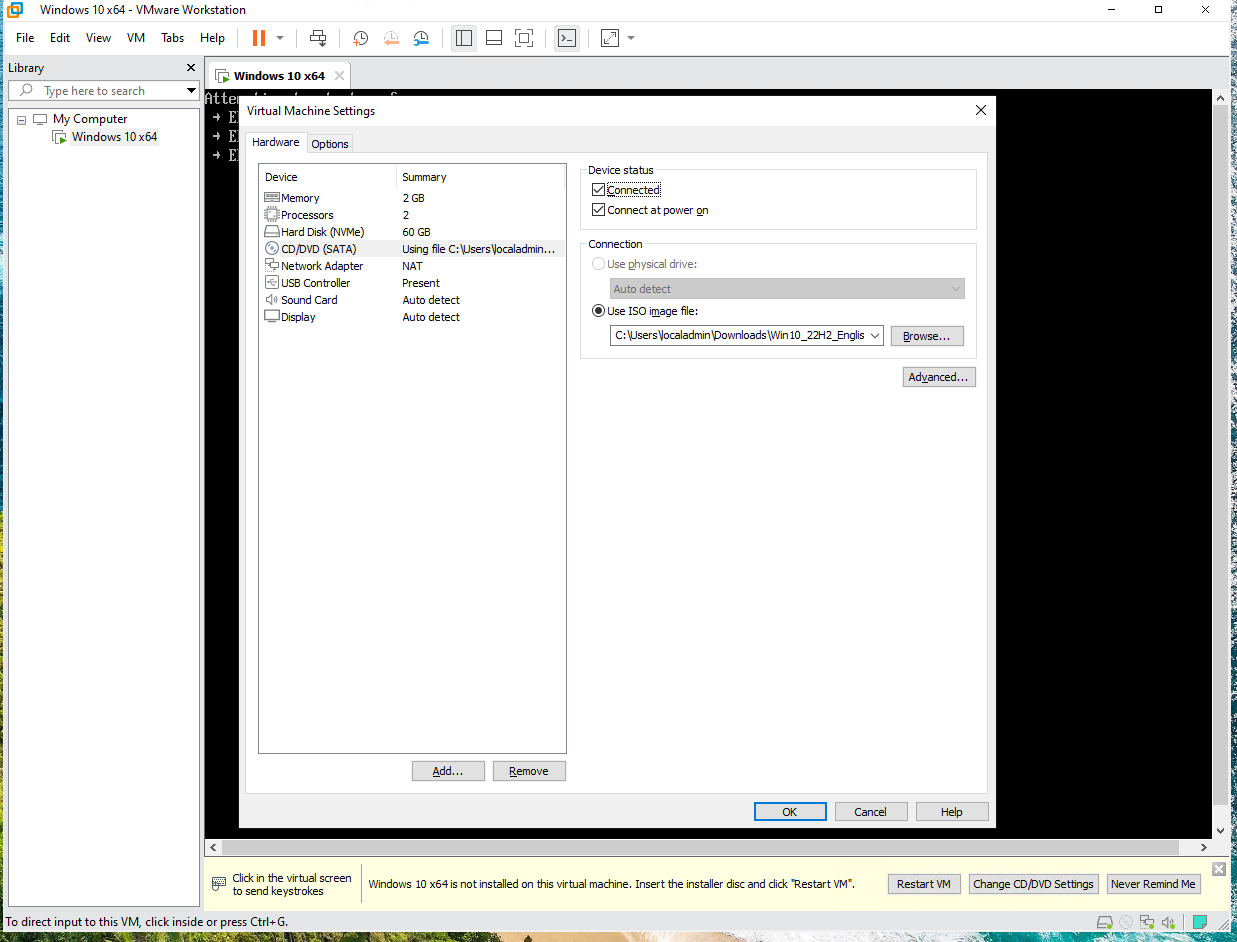
- If you selected in Step 5 point 2, Install later OS. Go to Virtual Machine Settings -> CD/DVD -> Use ISO image -> Select your ISO image -> Click Open -> Check the 2 check boxes inside Device Status -> Click OK
3.Follow instructions to Install Windows 10
Networking Information
VMware Workstation creates two default virtual networks:
- VMnet8 (NAT): Used to provide internet access to virtual machines through network address translation.
- VMnet1 (Host-Only): Used to establish a private LAN between the host and guest machines without external connectivity. There is no need to install a separate DHCP server, as VMware includes a built-in DHCP service for these networks.
To verify network communication between your Azure VM and the guest operating system, ensure that ICMP (ping) is allowed through the Windows Firewall. Alternatively, you can disable the firewall on both the Azure VM and the guest VM to simplify connectivity during testing.
Allow ICMP
Access Powershell as Admin and run the command below on Guest OS and Azure VM.
netsh advfirewall firewall add rule name="Allow ICMPv4-In" protocol=icmpv4:8,any dir=in action=allow